Update: Now DHTMLX has its own WYSIWYG editor – Rich Text Editor launched in December 2018.
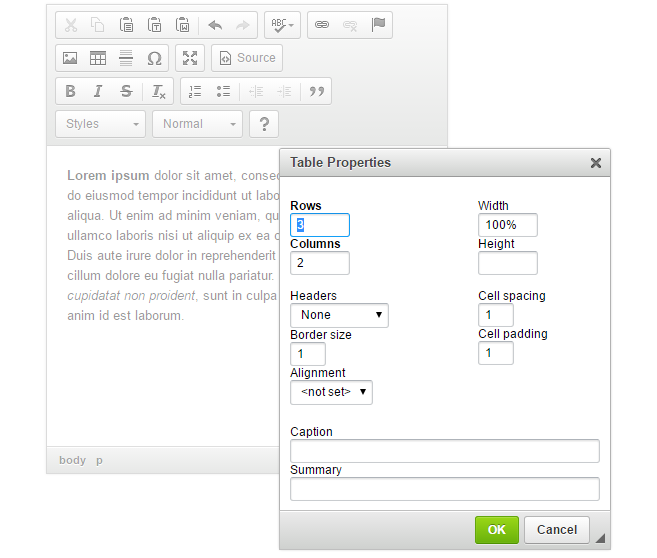
Using of DHTMLX UI components goes beyond the standard functionality described in docs. We’d like to share a simple way of adding a custom item in dhtmlxForm control. For more informative demonstration, we’ll integrate CKEditor, a popular WYSIWYG Editor, with our Form.

Each item requires a number of basic functions that are called depending on operations, in particular:
– render is an initial item rendering method that is called 1 time. You can also specify any configuration settings here.
– setValue is an internal method that sets up the value to an item at myForm.setFormData() and myForm.setItemValue() commands.
– getValue returns the value of the item and is called at form’s commands myForm.getItemValue() and myForm.getFormData()
– additionally we need getFormData_[itemname] and getFormData_[itemname] wrappers for set/getFormData
Now we move on to the CKEditor settings:
render – here we create a usual text area and call init of the CKEditor itself. Then we need to pass the parameters from formData to it, i.e.:
width: data.inputWidth||"auto",
height: data.inputHeight||"auto"
});
In addition, we will add an event for CKEditor. It will call the onChange event of the form when the value in the editor will be changed. The onChange event will fire when the user will finish editing and move the mouse pointer out of the input.
var v = CKEDITOR.instances[item._ckId].getData();
if (!item._unloading && v != item._value) {
item._value = v;
item.getForm().callEvent("onChange", [item._idd, item._value]);
}
});
To implement the possibility of working with several editors at once, we have added the item._ckId attribute and assigned a unique value to it.
To set values in the editor, we use the following code:
In order to get the values, the code below is used:
To unload the editors, use the code as follows:
To set focus, apply the following method:
All other functions will be inherited from the standard input type.
Thank you for reading our mini-tutorial! We hope that the given instructions were useful for you. Feel free to write your questions and comments below or in the forum topic.