Angular is widely used for large-scale enterprise apps and data-driven platforms, where Gantt charts often play a key role. But the architectural and maintenance peculiarities of this framework often make it quite challenging to implement such advanced functionalities from scratch. But now you can address this problem with the new DHTMLX Angular Gantt.
This official wrapper provides a seamless way to implement feature-packed Gantt charts into Angular apps using familiar patterns, while preserving access to the extensive API of DHTMLX JS Gantt.
Our Angular Gantt is already functionally complete. The beta stage is mainly about gathering feedback and validating the API before the stable release.
Getting Started
DHTMLX Angular Gantt is designed to work smoothly with modern Angular versions (starting from v19). It is currently distributed in two npm packages. We recommend starting your acquaintance with the wrapper by installing the public evaluation package:
For production use, you will need to switch to a professional package available via our private npm registry. Check the documentation for full setup instructions.
Now, let us highlight what to expect from the new DHTMLX Angular Gantt.
Built the Angular Way
At its core, the wrapper exposes the Gantt chart as a regular Angular component. To set up the chart in the Angular environment, you pass all necessary properties like tasks, links, config, templates, plugins, theme, and locale via inputs, and the Gantt chart is ready to use. No separate initialization steps are required. This approach helps keep the integration predictable and avoid extra wiring.
Here is a basic setup example:
selector: 'app-root',
standalone: true,
imports: [DhxGanttComponent],
template: `
<div style="height: 600px;">
<dhx-gantt
[tasks]="tasks"
[links]="links"
[config]="config"
[data]="dataConfig">
</dhx-gantt>
</div>
`,
})
export class AppComponent {
tasks = [
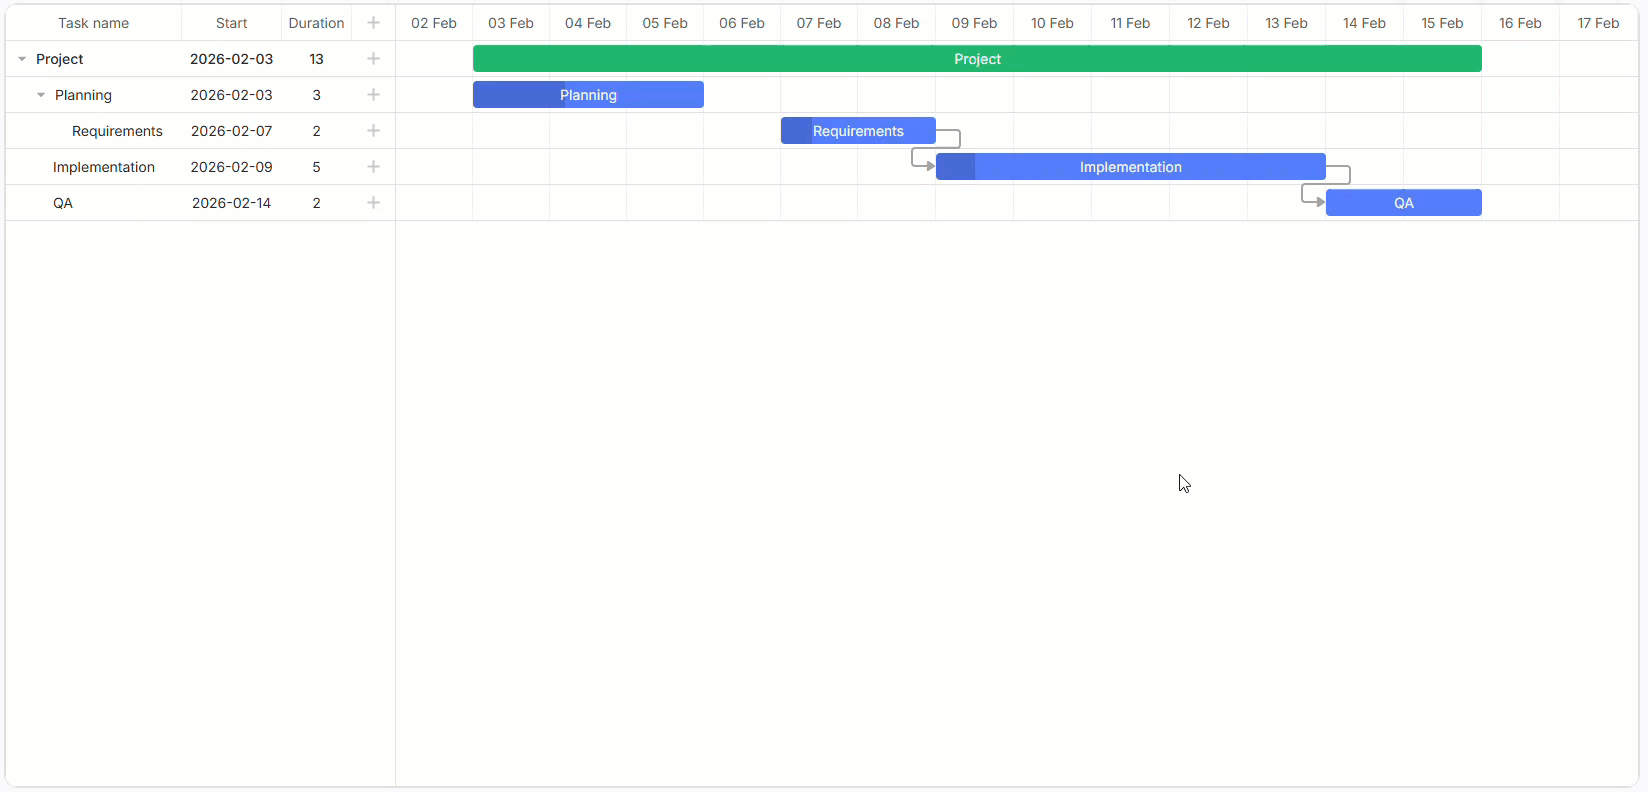
{ id: 1, text: 'Project', type: 'project', open: true, start_date: '2026-02-02 00:00', duration: 5, parent: 0 },
{ id: 2, text: 'Planning', start_date: '2026-02-02 00:00', duration: 2, parent: 1 },
];
...
dataConfig: AngularGanttDataConfig = {
save: (entity, action, data, id) => {
console.log('[data.save]', entity, action, data, id);
},
};
}
This example uses a standalone component, which is a more common approach in modern Angular apps, but it is also possible to use the wrapper in NgModule-based projects.
Another important point is Angular-like data synchronization. When data flows through inputs, the wrapper adds them to the existing Gantt instance. If you update a task or add a new one, such targeted changes are applied incrementally. Configuration options such as themes, locales, or templates are introduced at runtime, while more advanced features like resources or baselines are synchronized through related datastores. For more significant structural changes, the wrapper can reset and re-parse data to reflect the new state of things in the UI. When major layout changes take place, the wrapper may re-initialize the affected part of the Gantt chart to apply the new structure.
And finally, the new Gantt wrapper also follows Angular event-handling patterns during user interactions with the Gantt chart. Instead of attaching event handlers one by one, you create a single events input map. When anything happens in the Gantt chart, the wrapper “looks up” events and calls the matching function.
onTaskCreated: (task) => {
console.log('task created', task);
return true;
},
onBeforeLightbox: (taskId) => {
console.log('before lightbox', taskId);
return true;
},
};
onReady({ instance }: { instance: GanttStatic }): void {
console.log('ready', instance);
}
}
As a result, the Gantt chart acts as a common Angular component, and the wrapper keeps everything in sync. From this point, you can start enriching the Gantt UI with more configuration options and advanced features as needed.
Customizing and Extending Gantt with Angular Components
All existing DHTMLX components are recognized for their enhanced customization capabilities. The new Angular Gantt also inherits this strength, which manifests itself in the ability to embed pure Angular components in the Gantt UI.
For instance, if the Gantt editor form (Lightbox) requires a different layout or custom behavior, you just replace the default editor with the Angular component (TaskEditorComponent):
ganttLightboxConfig: CustomLightboxConfig = {
component: AdvancedFormComponent,
onSave: (data) => console.log('Saved:', data),
onCancel: () => console.log('Cancelled'),
onDelete: (id) => console.log('Deleted:', id)
};
This way, you define how Gantt task data is edited, saved, or removed. Here is an example of a custom form built with Angular that can show predecessors of the selected task and allows specifying a dependency type between these tasks:
The same idea applies to templates. Instead of plain HTML used in built-in Gantt templates, you can integrate Angular components in there using templateComponent(…) and add necessary UI elements via inputs:
templates = {
task_text: (_start: Date, _end: Date, task: any) =>
templateComponent(TaskTextTemplateComponent, {
task,
onIconClick: () => this.toggleTask(task),
}),
};
In this example, Angular components are used inside the Gantt chart. TaskTextTemplateComponent receives the task data and a callback, while Angular handles rendering and event handling within the DOM regions managed by Gantt. Therefore, it becomes easy to add required UI patterns in templates, make them more maintainable, and extend them without rewriting everything.
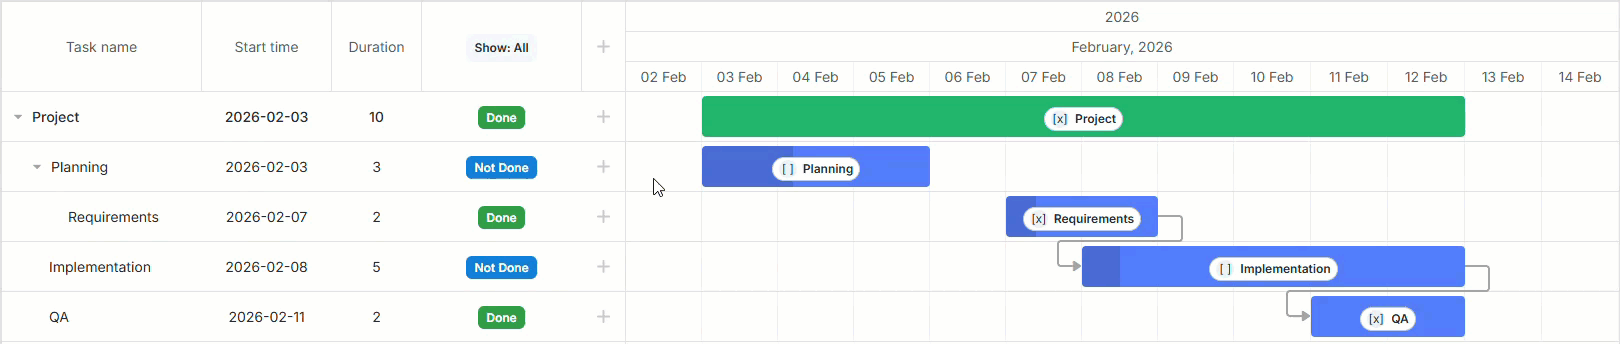
For more advanced project planning scenarios, the Angular Gantt allows complementing the configuration with features like grouping, resource filtering, calendars, and markers. All these features are configured via inputs as well.
[tasks]="tasks"
[links]="links"
[groupTasks]="groupConfig"
[calendars]="calendars"
[markers]="markers"
[config]="config">
</dhx-gantt>
This kind of flexibility allows simplifying the process of adjusting the Gantt chart to the needs of any Angular-based project management app.
Accessing the Gantt Instance
Most of the time, inputs and event handlers will be sufficient to work with the Gantt chart. But for specific Gantt features (not covered by inputs), it is necessary to get direct access to the underlying Gantt instance.
With DHTMLX Angular Gantt, there are two ways to do that:
- using ready output
console.log('ready', instance);
}
This option is used only once, right after the Gantt chart initialization. It is commonly called for specifying the initial setup logic.
- using @ViewChild decorator (and then use the Gantt instance object)
@ViewChild(DhxGanttComponent) ganttCmp?: DhxGanttComponent;
tasks = [];
links = [];
ngAfterViewInit(): void {
this.ganttCmp?.instance?.showDate(new Date());
}
}
It can be used for getting access to the full Gantt API at any moment of the component’s lifecycle after initialization.
Note: When modifying Gantt tasks or links directly via instance, ensure Angular inputs stay in sync. Otherwise, these changes are likely to be overwritten with subsequent input updates.
In general, accessing the Gantt instance is not something that you need on a regular basis, but it helps a lot when dealing with deep customizations.
That’s all you need to know about DHTMLX Angular Gantt at a theoretical level. To help with a smooth transition to practice, our team prepared a step-by-step guide that clearly explains how to incorporate a Gantt chart into a dedicated Angular component and make it a part of a web app.
Alternatively, you can still implement the Gantt functionality without the wrapper by integrating DHTMLX JavaScript Gantt directly into an Angular application using the official tutorial and corresponding GitHub demo.