Our weekly blog section is complemented with another cool feature that is available in our JavaScript UI library dhtmlxSuite – you can add a custom button to a window. It is simple and understandable as always.
To add the custom button, you need to use the addUserButton() method:
There can be taken the following parameters:
- id – id of the created button;
- position – this parameter that specifies where does the button place on the caption bar (left to right: 0 – the first button, 1 – the second, etc; there are some standard buttons that are hidden by default, for example “help” or “stick”);
- tooltip – when the user hovers the mouse over the created button, the title that is set by this parameter will appear;
- name – the name given to the button (using this parameter, you can work with this button and create CSS stule for it).
What else can be done with custom buttons?
You can add an event to the button
You can easily attach an event to the custom button in the following way:
And if needed remove an event from the user-created button:
You can operate with the button
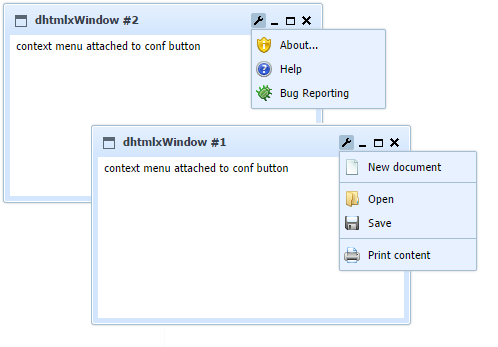
Your created buttons can also be operated through the default button methods. There are lots of possibilities: you can attach/detach/return the context menu (shown on the screenshot above), enable/disable the button, hide/show a button, set custom css style for a button, and other.
Check the full list of methods: dhtmlXWindowsButton API.
And surely you can remove the button
Remove you custom button with the help of the method removeUserButton():
Check the related documentation. See you next week!