Let’s keep on learning all the valuable possibilities of our JavaScript Gantt library with the help of our video tutorials.
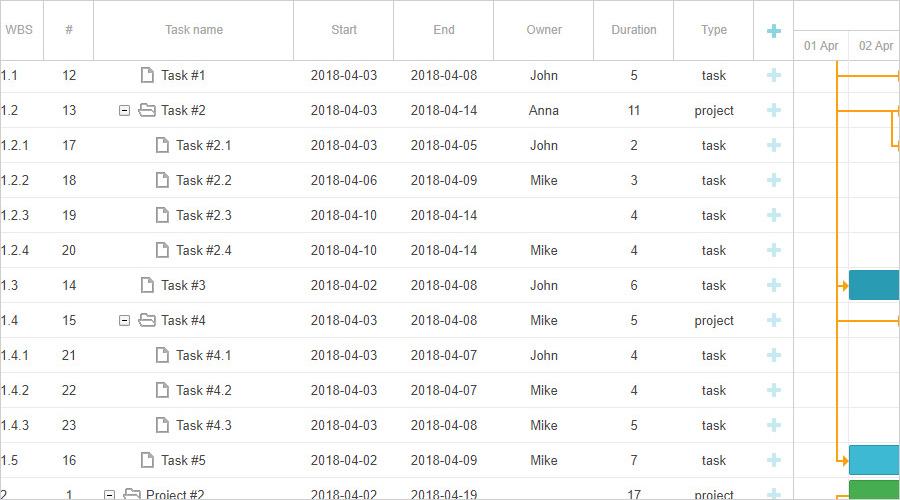
In the fourth video from our series, we’ll dive into managing the columns visibility in the grid of dhtmlxGantt. The challenge you can face is that users may want to show all the possible info in the grid, to the point that the grid may take up all the available space:
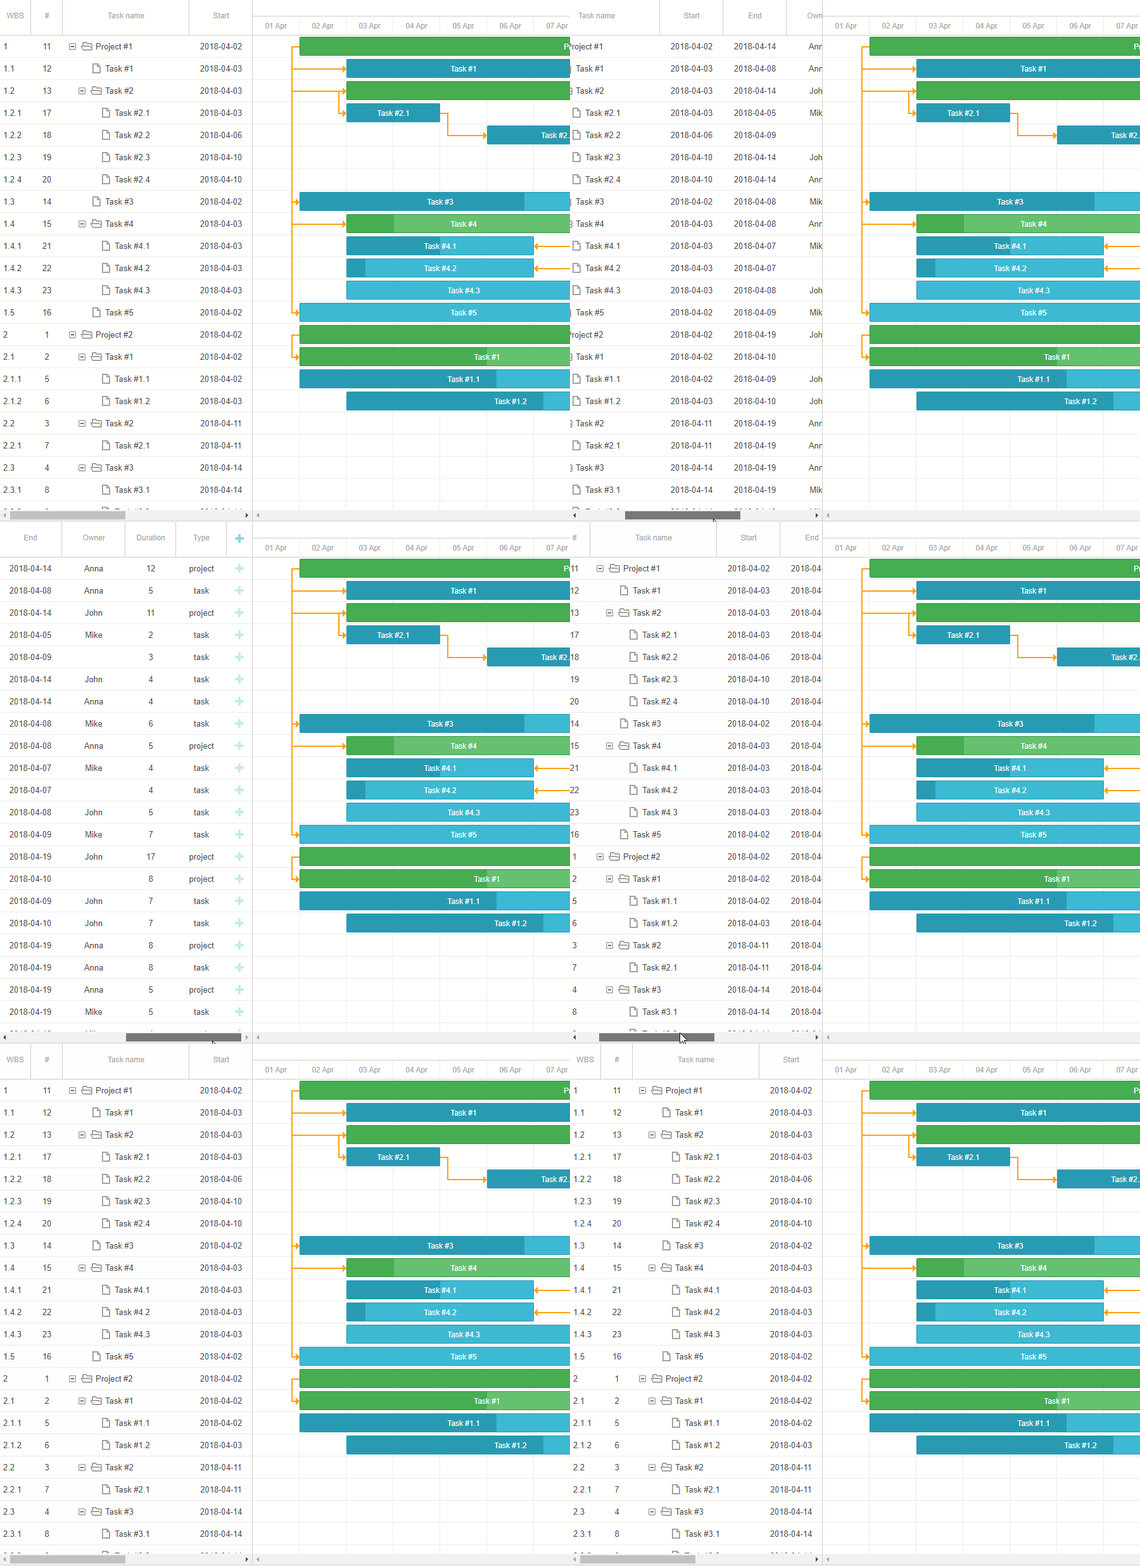
 There are two possible solutions for that. We can either add a horizontal scrollbar into the grid and make it thinner, or allow a user to select which columns are going to be visible.
Horizontal Scroll
Let’s start with the first approach. We can make our grid scrollable using the scrollable property of the layout configuration option:
css: "gantt_container",
cols: [
{
width:400,
min_width: 300,
rows:[
{view: "grid", scrollX: "gridScroll", scrollable: true, scrollY: "scrollVer"},
{view: "scrollbar", id: "gridScroll", group:"horizontal"}
]
},
{resizer: true, width: 1},
{
rows:[
{view: "timeline", scrollX: "scrollHor", scrollY: "scrollVer"},
{view: "scrollbar", id: "scrollHor", group:"horizontal"}
]
},
{view: "scrollbar", id: "scrollVer"}
]
};
We split the Gantt layout into several columns:
- The grid
- The timeline
- The resizer element between the grid and the timeline
- And the vertical scrollbar
In order to add an inner scrollbar into the grid element, add the scrollable property to the grid object and connect it to the horizontal scrollbar located in the same column. After that we can scroll the grid using the scrollbar element.
We also need a horizontal scrollbar for the timeline element, which is added in the same way.
Lastly, we connect both the grid and the timeline to the same vertical scrollbar element in order to synchronize their vertical position.
 Check the documentation >
Hiding Columns in the Grid
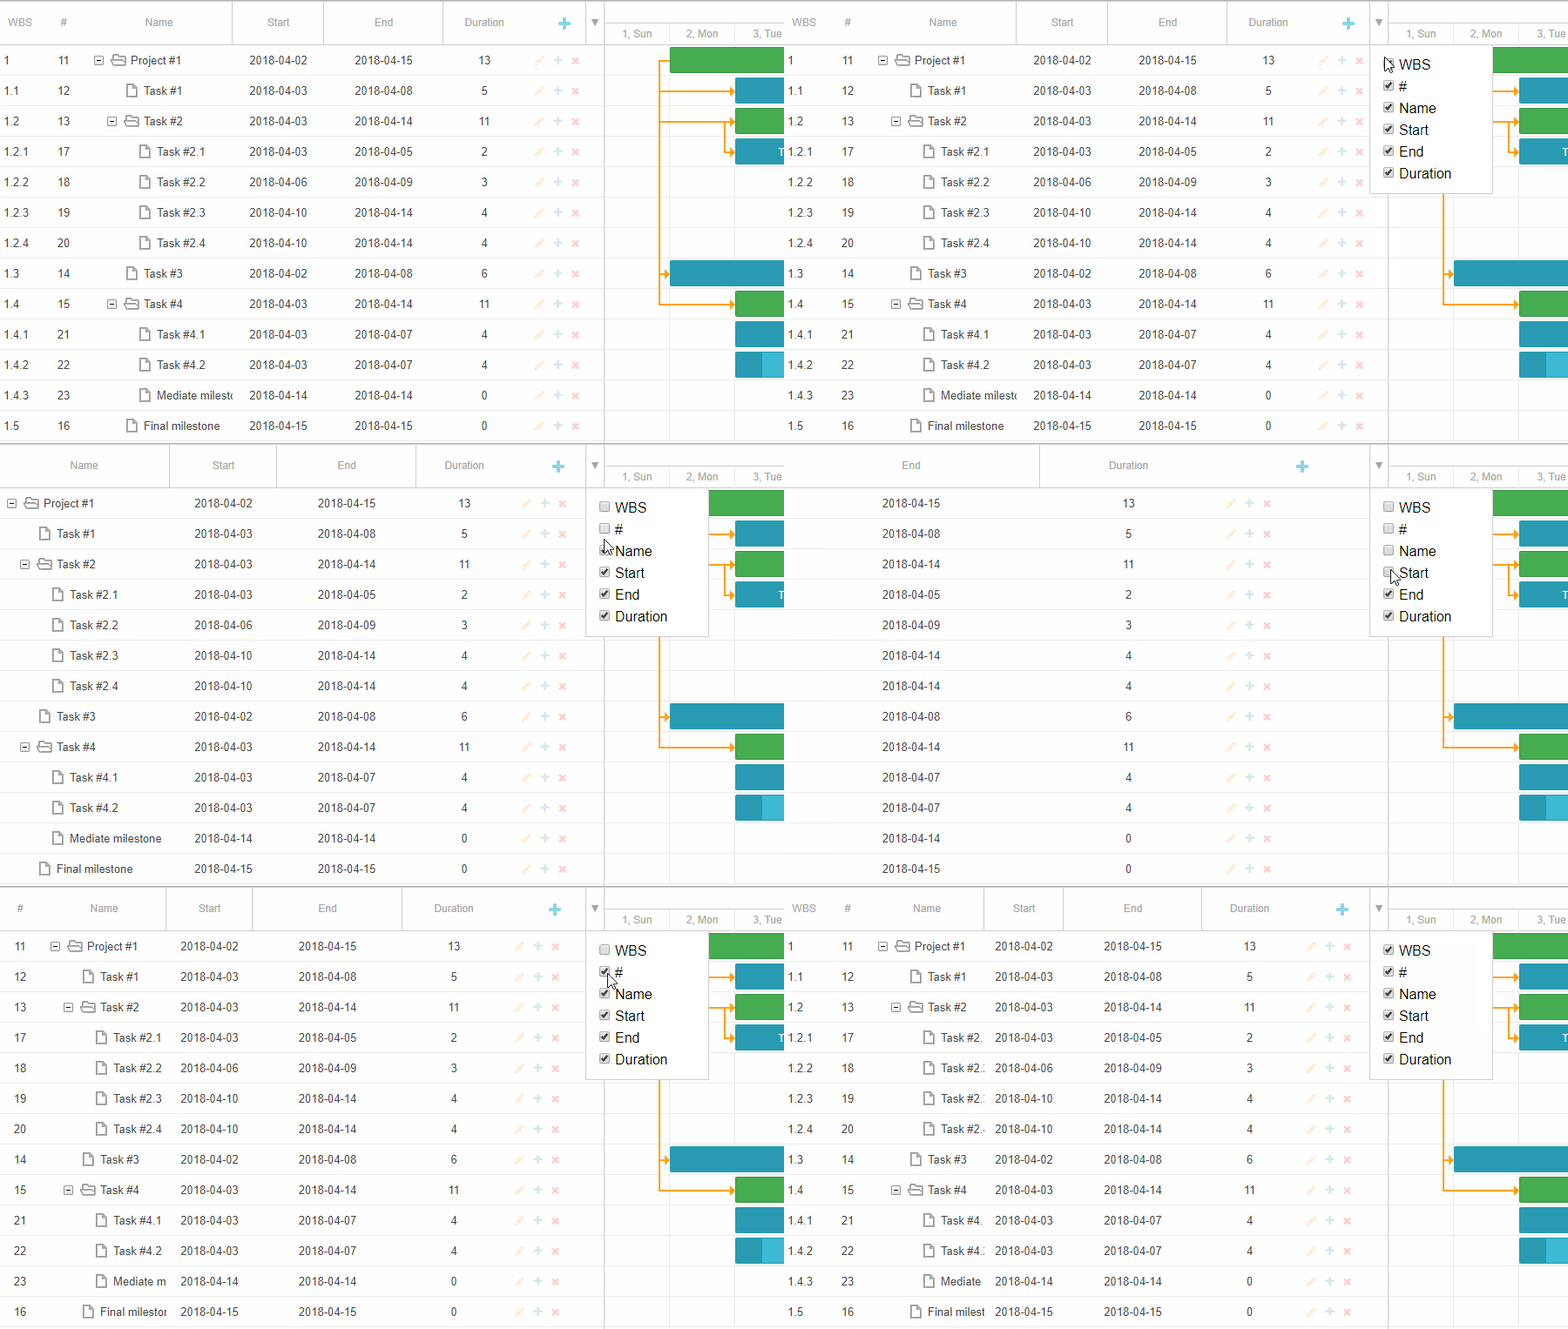
Another approach to our original challenge is to provide a user with an ability to select which columns should be visible:

To do so, add a UI element where a user will be able to specify the visible columns and change the configuration of the grid after the user’s selection. You can hide any column either by removing it from the columns config or by setting the hide:true property.
Given that we already know how to add a UI control where a user can select columns as well as add a dropdown menu to the Gantt header – all we need is to add inputs for each defined column. When the selection changes, we prepare an array of selected columns:
var newColumns = [];
allColumns.forEach(function(column){
if(selectedColumns[column.name]){
newColumns.push(column);
}
});
newColumns.push(controlsColumn);
return newColumns;
}
Assign it to the columns config and repaint the Gantt:
var selection = getColumnsSelection(dropDown);
gantt.config.columns = createColumnsConfig(selection);
gantt.render();
}
Ready to try it out on your own Gantt? Download our free 30-day trial version and get down to experimenting with the visibility of columns in the grid of dhtmlxGantt.
We also invite you to subscribe to our YouTube channel and keep an eye on the latest video tutorials!