We are glad to share one more DHTMLX tip, and this time you’ll know how to divide the buttons from toolbar into groups (grouped buttons also known as segmented button).
You can create several segmented buttons for a single toolbar. Only one button at a time can be pressed within the group. It provides you more abilities with dhtmlxToolbar: click on the screenshot below to open demo and you’ll see how these groups can be used in practice.
On contrast to our previous tips, we have more code this time, so “Ctrl+U” and let’s deal with it together.
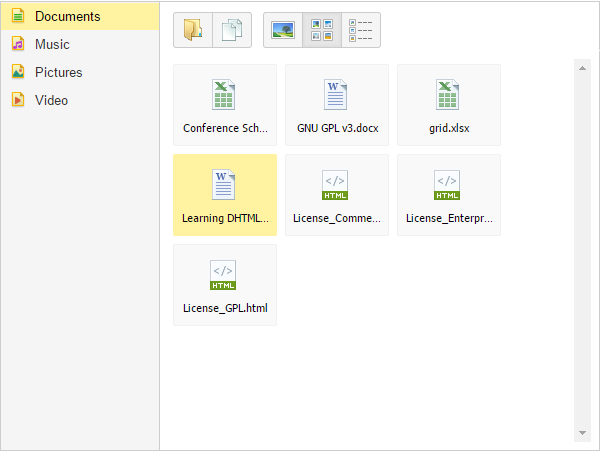
The files ftypes.css and ftypes.js include description of items for dataview. Data for dataview are included in docs.xml file, imgs directory contains icons for the components (toolbar, sidebar and files types).
Now we proceed to the needed code which we can find in toolbar_segmented.js file. To provide you the ability to easily use this feature, we moved its code to a separate file-extension of toolbar so you need just follow simple steps to include it in your app:
1) Include the file mentioned above into the page (after dhtmlx.js or after dhtmlxtoolbar.js)
2) Then use myToolbar.addSegmented(groupName, ids, selected) method. Let’s review these parameters in detail:
– groupName – name for group of buttons
– ids – array with ids of the buttons that should be included in the group. Within one group with the name groupName only one button (specified in ids) can be pressed.
– selected – id of the buton which will be pressed by default (otherwise the 1st button from ids list will be pressed).
Note: the buttons should have buttonTwoState type.
Additionally we created onSegmentedChange event which fires when a user changes the status of the button:
myToolbar.attachEvent(“onSegmentedChange”, function(groupName, buttonId, buttonState){})
– groupName – name for group of buttons
– buttonId – pressed button id
– buttonState – true for the pressed button, false for the button that was pressed and then automatically unpressed
Now let’s look at the example:
1) At first we init toolbar
items: [
{id: "open", type: "button", img: "open.gif"},
{id: "copy", type: "button", img: "copy.gif"},
{type: "separator"},
{id: "ftiles", type: "buttonTwoState", img: "large.gif"},
{id: "ficons", type: "buttonTwoState", img: "medium.gif"},
{id: "flabels", type: "buttonTwoState", img: "small.gif"}
]
});
2) Then we add segmentedButton
3) The next step is to attach the event
if (state == true && group == "mode") {
myDataView.define("type", id);
}
});
You can also contact our support and request for the demo in .zip.