Some time ago we shared our first Firebase adapter created for dhtmlxGantt. And today we’d like to share the similar one, but for dhtmlxScheduler.
Well, if you still didn’t meet Firebase, then you should know that it provides a real-time database and backend as a service. The service provides application developers an API that allows application data to be synchronized across clients and stored on Firebase’s cloud.
dhtmlxScheduler + Firebase = … ?
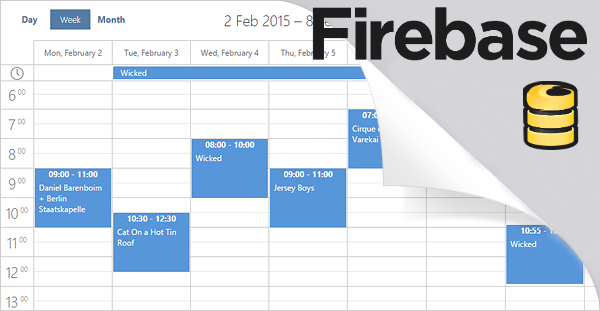
… Dynamic Scheduling Calendar in your app. The changes that were made in your application will be sent to the server and then sync with all users of your app. Those users who are offline will get these changes when their app regains connectivity.
To start getting advantages from this integration, we offer you to use our Firebase adapter that you may download from Github. The package also includes samples and instructions which we’d also like to share here.
How to use
Step 1. We begin with including dhtmlxScheduler and Firebase files on the page:
Download dhtmlxScheduler
Download Firebase adapter for Scheduler
<script src="../source/dhtmlx_scheduler/sources/dhtmlxscheduler.js"></script>
<link rel="stylesheet" href="../source/dhtmlx_scheduler/sources/skins/dhtmlxscheduler.css">
<!-- dhtmlxScheduler-Firebase adapter -->
<script type="text/javascript" src="../source/dhtmlx_scheduler_firebase.js"></script>
<!-- FireBase -->
<script src="https://cdn.firebase.com/js/client/2.2.4/firebase.js"></script>
Step 2. In this step we create html for dhtmlxScheduler:
<div class="dhx_cal_navline">
<div class="dhx_cal_prev_button"> </div>
<div class="dhx_cal_next_button"> </div>
<div class="dhx_cal_today_button"></div>
<div class="dhx_cal_date"></div>
<div class="dhx_cal_tab" name="day_tab" style="right: 332px;"></div>
<div class="dhx_cal_tab" name="week_tab" style="right: 268px;"></div>
<div class="dhx_cal_tab" name="month_tab" style="right: 204px;"></div>
<div class="dhx_cal_tab" name="year_tab" style="right: 140px;"></div>
</div>
<div class="dhx_cal_header"></div>
<div class="dhx_cal_data"></div>
</div>
Step 3. Now it’s time to init dhtmlxScheduler:
Step 4. And the final step is to create firebase connection and set this to scheduler:
Note: we used our test base. Your need to create your own base on firebase.com and use your URL.
events = data.child("events");
scheduler.firebase(events);
These simple 4 steps show you how to add Scheduler to your Firebase application. Don’t hesitate to share your opinion in the comment section below.
Thanks for reading!