If you plan to create a web application that, among the other useful features, allows a user to upload some files to the server, you should take care of neat and handy upload component. In this case, dhtmlxVault is exactly what you need, and would be a great add-on to dhtmlxSuite library. Let’s take a look at its basic features.
Download dhtmlxVault and start exploring now
- This JavaScript file upload component has the progress bar that displays the upload progress and the estimated time remaining for an upload
- Drag-and-drop functionality simplifies adding files to the upload queue.
- Support of different server-side platforms such as PHP, Java, and ASP.NET allows you to use it in different types of projects
- Upload restrictions allow controlling the types of files that can be uploaded to your server. If your app works with multimedia files, you can define the proper file extensions to avoid the possible mess. You can also control the size and number of the uploaded files, or even set the overall size of the upload
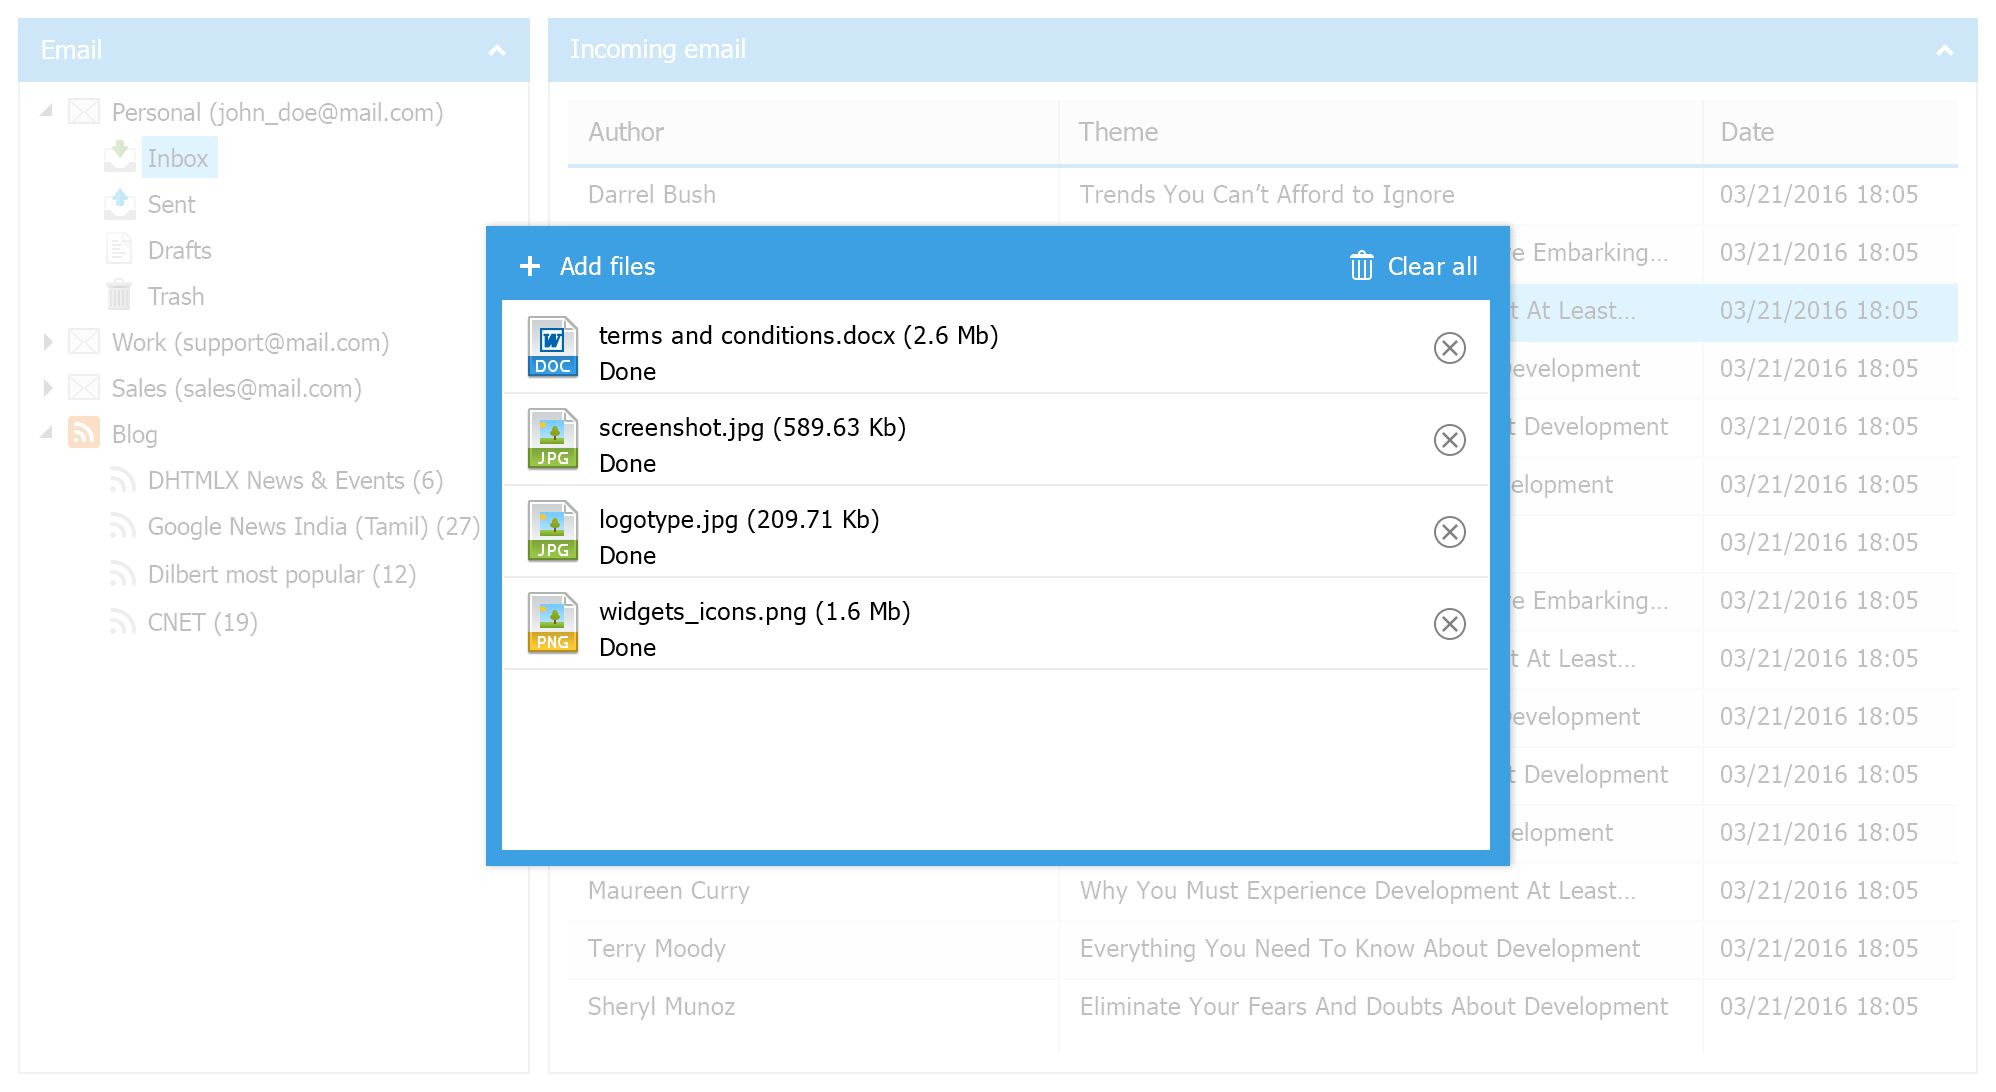
- If you already have some files on the server, you can display the list of the uploaded files
- Styling features allows changing skins, customizing icons, and localizing dhtmlxVault
- And don’t forget that you can always attach dhtmlxVault to the other DHTMLX components such as Layout, Accordion, Tabbar, Window, or Popup
We bet that you can’t wait to learn how you can use this component. Well, let’s proceed with the practical part.
Creating Upload Component on a Page
The process of creation will consist of two parts: client side and server side. We’ll concentrate on the minimalist version of a component just to show you how everything works. A server-side example will be written in PHP, so make sure that you have a running web server before proceeding. After you download the dhtmlxVault package, we’ll be ready to continue.
First, unpack the required files and add them to the page:
<script src="dhtmlxvault.js"></script>
Then you should define a div container where you’re going to place a component:
Now, within the tags, create a dhtmlxVaultObject instance. To do so, we need to define a proper container and a path to the server script. You can use Flash or Silverlight uploader, for example. But we’ll choose probably, the most common option: html4/html5 uploader. Thus, we’ll have to use the uploadUrl key along with the path to the corresponding script file. Here’s the code we need:
var myVault = new dhtmlXVaultObject({
// html container for vault
container: "vaultObj",
// html4/html5 upload url
uploadUrl: "server.php",
});
</script>
At this step, the very basic configuration of the client side is finished and we can proceed with the server side. The PHP code example below assumes that you have a folder named uploads on your server. You should also be sure that you set the required permissions.
Here’s the content of the server.php file:
if (@$_REQUEST["mode"] == "html5" || @$_REQUEST["mode"] == "flash") {
if (@$_REQUEST["zero_size"] == "1") {
// IE10, IE11 zero file fix
// get file name
$filename = @$_REQUEST["file_name"];
// just create empty file
file_put_contents("uploads/".$filename, "");
} else {
// get file name
$filename = $_FILES["file"]["name"];
// save file
move_uploaded_file($_FILES["file"]["tmp_name"], "uploads/".$filename);
}
// response
header("Content-Type: text/json");
print_r(json_encode(array(
"state" => true, // saved or not saved
"name" => $filename, // server-name
"extra" => array( // extra info, optional
"info" => "just a way to send some extra data",
"param" => "some value here"
)
)));
}
?>
IE10 and IE11 have a problem with uploading zero-size files in the html5 mode, so we should use a little workaround: once we detect that a file with zero size is going to be uploaded params zero_size=1 andfile_name=somename.ext will be sent to the server. Otherwise, we can move the uploaded file to the uploads folder. The state and name params of the response are mandatory and extra is optional.
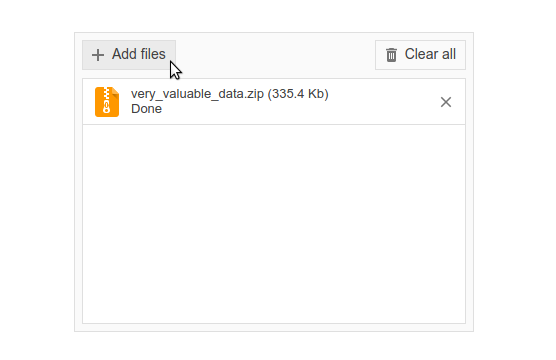
The coding part is finished, and we can check the results. Open your project in the browser, and you’ll see the file upload component on the page. You can use the Add files button to check the files that you want to upload:
The uploaded files should appear within the uploads folder.
That’s how you can create a basic JavaScript file upload component on a page. If you’re wondering how further customization can change the behavior of dhtmlxVault, you can check the demo page. To learn how to make such customization, check the documentation page.