Note: The information provided in this tutorial is outdated. We are working on a refreshed version, but in the meantime, please follow the relevant step-by-step guide in the DHTMLX Gantt documentation. You can also check the DHTMLX Gantt with Angular demo on GitHub.
The JavaScript ecosystem is regularly enriched with promising frameworks, but many web developers still prefer to use some time-proven options such as Angular. That’s why our plan for today is to give you a good starting point for using DHTMLX Gantt with the Angular framework.
Now we’re going to implement an angular Gantt chart component for DHTMLX Gantt (JavaScript Gantt Chart), add it into the small application and bind it to the RESTful API on a backend. We’ll write this demo in TypeScript since it’s a recommended way, although it also can be done in plain JavaScript or in ES6.
Please mind that in this tutorial we won’t cover server-side logic of data saving. Instead, we’ll emulate the backend using the Angular in-memory-web-api tool.
You can download a complete Angular Gantt chart demo from GitHub.
Preparing App
To set up a development environment, we’ll use angular cli. If you don’t have angular cli you can get it with a package manager (npm install -g @angular/cli) or check its documentation for more details. To create an app skeleton, run the following command:
You’ll be asked to pick a preset (add Angular routing or not, stylesheet type). Select the necessary options to configure the system to your needs.
After the operation finishes, we can go to the app directory and run the application:
ng serve
Now, if we open http://127.0.0.1:4200 we should see the initial page. The ng serve command will watch the source file and, if necessary, will change and rebuild the app.
Creating gantt chart component
First, we should get the DHTMLX Gantt chart code. Starting from Gantt v6.1, type definitions are bundled with the package, so we don’t need to install them separately. Run the following command in order to add Gantt:
To add dhtmlxGantt to the Angular app we should create a new component. For this, run the following command:
In the newly created “gantt.component.ts” file inside the “gantt” folder, we will add the next lines of code:
import { gantt } from 'dhtmlx-gantt';
@Component({
encapsulation: ViewEncapsulation.None,
selector: 'gantt',
styleUrls: ['./gantt.component.css'],
template: `<div "gantt-chart"></div>`,
})
export class GanttComponent implements OnInit {
@ViewChild('gantt_here', { static: true }) ganttContainer!: ElementRef;
ngOnInit() {
gantt.init(this.ganttContainer.nativeElement);
}
}
Here we’ve defined our new component. It can be used with the “gantt” tag in html. When an element is loaded, it initializes gantt inside the container.
Note that we’ll declare gantt styles in the separate file named “gantt.component.css”. Default styles can look like the following:
.gantt-chart {
position: relative;
width: 100%;
height: 600px;
}
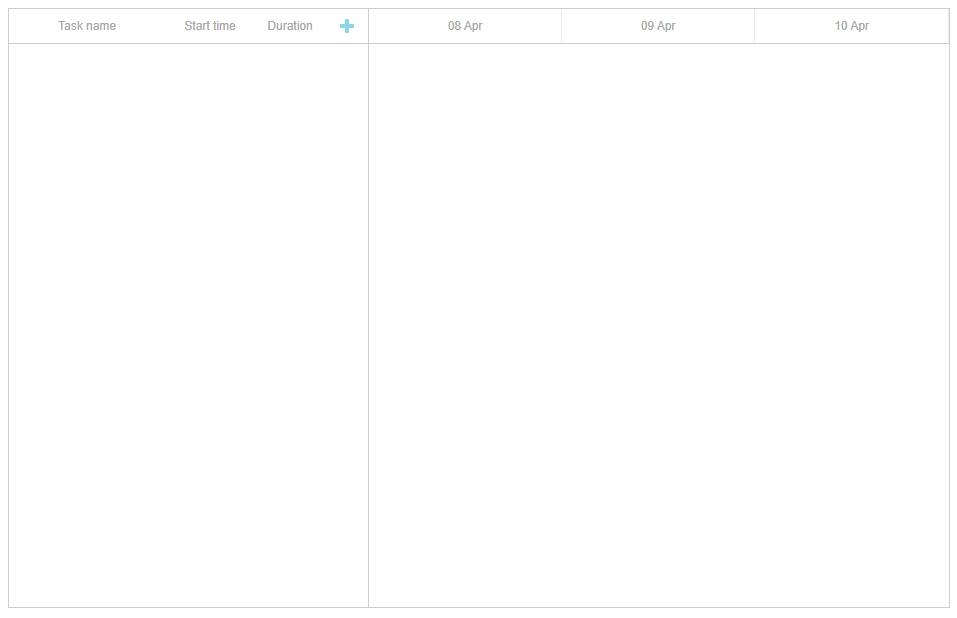
Next, we can put out a new component to the page. For this, open “app.component.html” and put the following code in there:
Now if we open the page, we should see an empty gantt chart on it.
Data Loading
To add data loading to our Angular gantt chart, we are going to add task and link services. But let us create models first.
For creating the task model, run the following command:
In the newly created “task.ts” file inside the “models” folder, we will add the next lines of code:
id!: number;
start_date!: string;
text!: string;
progress!: number;
duration!: number;
parent!: number;
}
Then, create the link model:
And add the following code to the “link.ts” file:
id!: number;
source!: number;
target!: number;
type!: string;
}
Now, let’s create our services. Service is a class responsible for doing a specific task. Angular services can be injected using the Dependency Injection mechanism and include data, function or some features necessary for your application. We’re going to create a data service that we’ll use to provide our gantt chart with tasks.
For creating task service, run the following command:
In the newly created “task.service.ts” file inside the “services” folder, it is required to add the next lines of code:
import { Task } from '../models/task';
@Injectable()
export class TaskService {
get(): Promise<Task[]>{
return Promise.resolve([
{ id: 1, text: 'Task #1', start_date: '2023-04-15 00:00', duration: 3, progress: 0.6, parent: 0 },
{ id: 2, text: 'Task #2', start_date: '2023-04-18 00:00', duration: 3, progress: 0.4, parent: 0 }
]);
}
}
We’ve added the @Injectable() decorator to our service. It marks a class as available to an injector for instantiation. We’ll inject it into our component further.
Currently, it returns the resolved promise with hard-coded data. But you can load data from the server side and return the promise. We will discuss it in more detail below.
Then, create a link service:
Add the following code to the “link.service.ts” file:
import { Link } from '../models/link';
@Injectable()
export class LinkService {
get(): Promise<Link[]> {
return Promise.resolve([
{ id: 1, source: 1, target: 2, type: '0' }
]);
}
}
This service is pretty much the same as a task service.
Now open our “gantt.component.ts“. We should add TaskService and LinkService to our component. Firstly, add the necessary imports for our services:
import {LinkService} from "../services/link.service";
Also, we should add the providers property to the @Component decorator argument:
It tells angular to create fresh instances of our services when it creates a new GanttComponent. So, our component can use those services to get tasks and links.
Now, we can inject our services into the component. For this purpose, add the following constructor to GanttComponent class:
Add the following code to the ngOnInit function.
gantt.init(this.ganttContainer.nativeElement);
Promise.all([this.taskService.get(), this.linkService.get()])
.then( ([data, links]) => {
gantt.parse({ data, links });
});
Here we’ve added the date_format config definition. It sets the data format for the loading tasks. Also here we call our services to get a function and then are waiting for a response to put data to gantt. gantt.parse accepts data objects of the following structure.
We should get the code like that in our gantt.component.ts file:
import { TaskService } from '../services/task.service';
import { LinkService } from '../services/link.service';
import { Gantt } from 'dhtmlx-gantt';
@Component({
encapsulation: ViewEncapsulation.None,
selector: 'gantt',
styleUrls: ['./gantt.component.css'],
providers: [TaskService, LinkService],
template: `<div class="gantt-chart"></div>`,
})
export class GanttComponent implements OnInit {
@ViewChild('gantt_here', { static: true }) ganttContainer!: ElementRef;
constructor(private taskService: TaskService, private linkService: LinkService) { }
ngOnInit() {
gantt.config.date_format = '%Y-%m-%d %H:%i';
gantt.init(this.ganttContainer.nativeElement);
Promise.all([this.taskService.get(), this.linkService.get()])
.then(([data, links]) => {
gantt.parse({ data, links });
});
}
}
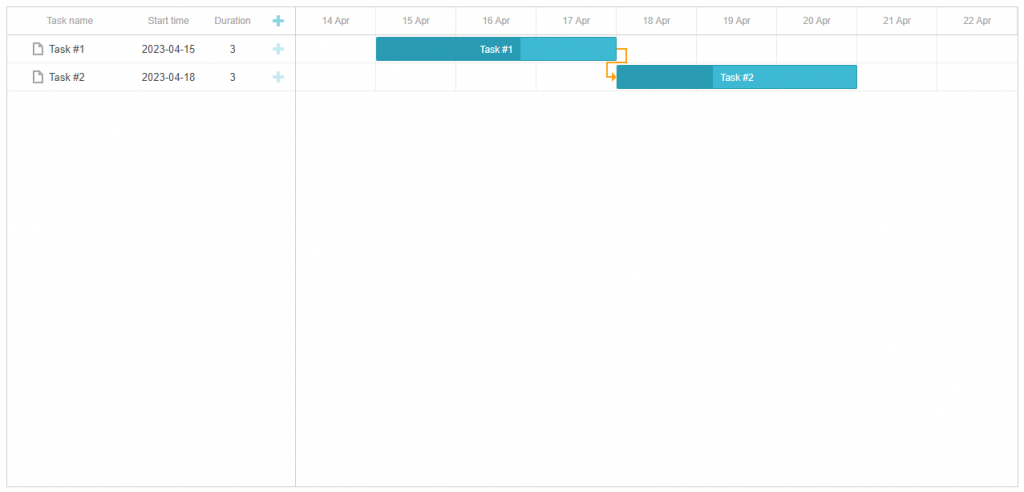
Now, if we open an app, we should see our tasks with a link between them.
Data Saving
In this tutorial, we’re not going to create an actual database and write a backend. Instead, we’ll mock the backend with the help of the angular-in-memory-web-api library – it’ll intercept xhr requests and call data storage we’ll define on the client. If it’s not what you want, you can skip the first step and the app will call the real backend.
1. At first, we should install angular-in-memory-web-api. For this, run the following command:
Open “app.module.ts” to add InMemoryWebApiModule and define our mock database initialization. We will create a necessary class on the next step. For now, our app.module.ts should look like that:
import { BrowserModule } from "@angular/platform-browser";
import { AppRoutingModule } from './app-routing.module';
import { AppComponent } from "./app.component";
import { GanttComponent } from './gantt/gantt.component';
import { HttpClientModule } from '@angular/common/http';
import { HttpClientInMemoryWebApiModule } from 'angular-in-memory-web-api';
import { InMemoryDataService } from './services/in-memory-data.service'
@NgModule({
declarations: [AppComponent, GanttComponent],
imports: [BrowserModule, AppRoutingModule, HttpClientModule, HttpClientInMemoryWebApiModule.forRoot(InMemoryDataService)],
providers: [],
bootstrap: [AppComponent],
})
export class AppModule {}
For creating the in-memory-data service, run the following command:
In the newly created “in-memory-data.service.ts” file inside the “services” folder, we will add the next lines of code:
export class InMemoryDataService implements InMemoryDbService {
createDb() {
let tasks = [
{ id: 1, text: 'Task #1', start_date: '2023-04-15 00:00', duration: 3, progress: 0.6 },
{ id: 2, text: 'Task #2', start_date: '2023-04-18 00:00', duration: 3, progress: 0.4 }
];
let links = [
{ id: 1, source: 1, target: 2, type: '0' }
];
return { tasks, links };
}
}
2. Let us create a helper for our requests. To do that, create “service-helper.ts” with the following code:
console.log(error);
return Promise.reject(error);
}
The HandleError will put an error to the console in case of some errors.
3. Update our services to handle the adding, updating, and deleting of items. Open “task.service.ts” and add the following code to it:
import { Task } from '../models/task';
import { HttpClient } from '@angular/common/http';
import { HandleError } from './service-helper';
import { firstValueFrom } from 'rxjs';
@Injectable()
export class TaskService {
private taskUrl = 'api/tasks';
constructor(private http: HttpClient) {}
get(): Promise<Task[]>{
return firstValueFrom(this.http.get(this.taskUrl))
.catch(HandleError);
}
insert(task: Task): Promise<Task> {
return firstValueFrom(this.http.post(this.taskUrl, task))
.catch(HandleError);
}
update(task: Task): Promise<void> {
return firstValueFrom(this.http.put(`${this.taskUrl}/${task.id}`, task))
.catch(HandleError);
}
remove(id: number): Promise<void> {
return firstValueFrom(this.http.delete(`${this.taskUrl}/${id}`))
.catch(HandleError);
}
}
We’ve defined taskUrl as a private element of our service. It contains a url to our REST API. In order to send HTTP requests, we’ve injected HTTP class into our service.
To insert a new item, we send a POST request to our url with a new task in the body. To update an item, we send a PUT request to url/item_id. This request also contains an updated task in the body. To remove an item, we send a delete request to url/item_id. In this case, an item with such an id will be removed.
Now, open “link.service.ts” and update our LinkService.
import { Link } from '../models/link';
import { HttpClient } from '@angular/common/http';
import { HandleError } from './service-helper';
import { firstValueFrom } from 'rxjs';
@Injectable()
export class LinkService {
private linkUrl = 'api/links';
constructor(private http: HttpClient) {}
get(): Promise<Link[]> {
return firstValueFrom(this.http.get(this.linkUrl))
.catch(HandleError);
}
insert(link: Link): Promise<Link> {
return firstValueFrom(this.http.post(this.linkUrl, link))
.catch(HandleError);
}
update(link: Link): Promise<void> {
return firstValueFrom(this.http.put(`${this.linkUrl}/${link.id}`, link))
.catch(HandleError);
}
remove(id: number): Promise<void> {
return firstValueFrom(this.http.delete(`${this.linkUrl}/${id}`))
.catch(HandleError);
}
}
It’s pretty much the same as TaskService and provides the same API for links.
In the “gantt.component.ts” file, we need to add tasks editing logic. Since we import the gantt object from the module to avoid unexpected behavior, we should create a data processor and attach handlers via attachEvent only once. To ensure that the data processor is created only once each time the gantt is initialized (when switching between application pages), you can add a custom property to the gantt object, for example (gantt as any).$_initOnce = true.
Next, we check if the gantt has this property. If it doesn’t, we initialize the gantt for the first time and create a data processor:
(gantt as any).$_initOnce = true;
const dp = gantt.createDataProcessor(...
}
If the property exists, then the gantt is already configured, and we need to skip creating the data processor.
If using the Commercial/Enterprise/Ultimate licenses of DHTMLX Gantt, we can create a new gantt object (const gantt = Gantt.getGanttInstance()) and configure it when starting the component (ngOnInit), and destroy the created gantt (gantt.destructor()) when exiting the component (ngOnDestroy). This way, each launch of the component will start with a clean gantt, and the check will not be needed.
import { TaskService } from '../services/task.service';
import { LinkService } from '../services/link.service';
import { Task } from '../models/task';
import { Link } from '../models/link';
import { gantt } from 'dhtmlx-gantt';
@Component({
encapsulation: ViewEncapsulation.None,
selector: 'gantt',
styleUrls: ['./gantt.component.css'],
providers: [TaskService, LinkService],
template: `<div class="gantt-chart"></div>`,
})
export class GanttComponent implements OnInit {
@ViewChild('gantt_here', { static: true }) ganttContainer!: ElementRef;
constructor(private taskService: TaskService, private linkService: LinkService) { }
ngOnInit() {
gantt.config.date_format = '%Y-%m-%d %H:%i';
gantt.init(this.ganttContainer.nativeElement);
if(!(gantt as any).$_initOnce){
(gantt as any).$_initOnce = true;
const dp = gantt.createDataProcessor({
task: {
update: (data: Task) => this.taskService.update(data),
create: (data: Task) => this.taskService.insert(data),
delete: (id: any) => this.taskService.remove(id),
},
link: {
update: (data: Link) => this.linkService.update(data),
create: (data: Link) => this.linkService.insert(data),
delete: (id: any) => this.linkService.remove(id),
}
});
}
Promise.all([this.taskService.get(), this.linkService.get()])
.then(([data, links]) => {
gantt.parse({ data, links });
});
}
}
Here we’ve defined a dataProcessor handler that will capture changes made in gantt by the user and will transfer them to data services.
The handler can be declared either as a function or a router object, we’ve used the latter approach here.
Gantt accepts Promise response from the handler, so the gantt will correctly process the completion of an action.
If your service changes a task or a link id after creating a new record (which it usually does), make sure that your Promise returns an object with {id: databaseId} or {tid: databaseId} as a result, so Gantt could apply new database id to the record.
Keep in mind that in this demo we’ve used angular-in-memory-api library to emulate the data storage, but in real life you’ll most probably want to save changes to the real database. In order to do that you’ll either need to remove in-memory-web-api from the app, or configure it to pass requests through to the real backend, and implement a data storage.
Once again, you are welcome to check a complete demo of our gantt chart and Angular on GitHub.
Thank you in advance and stay tuned for new tutorials!