Setting up a CI/CD pipeline for a Javascript-based project and linking it to a DHTMLX UI framework can be a long and tedious process. Fortunately, there are tools to speed up this process. In this blog post, we will discuss how to set up a basic pipeline with Semaphore, Github, and DHTMLX Components.

Tools You Will Need
- Semaphore: a CI / CD server that can run your tests and deploy your code to any destination. In this case, we will use it as a build system, but you can also connect other third-party services like Gitlab or Bitbucket.
- Github: the place where all of our code lives. We will need to set up an account in order to get access to their APIs. You can obviously choose other alternatives like Gitlab, Bitbucket, or private servers if you want more control over what goes into the public domain.
- DHTMLX Components for React: a UI library that allows you to easily create interactive web apps without coding too much.
Github Setup
Firstly, we will sign up for a Github account. Once you have done that go to https://github.com/settings/developers. You will be redirected to the developers’ section of Github. Here you need to create an API access token with full rights (this is required by Semaphore). From your list of tokens select “New OAuth App” and give it a name like dhtmlx-web-components-Semaphore.
After that hit “Create application” and then click on the settings tab. Copy the client ID into a text file as you will need this when setting up Semaphore later in the blog post. Then click on the authorized applications menu and choose “edit” next to the previously created token. You will need to add a new access token, use this time with read-only rights. Save it and you are good to go!

Alternatively, if you want more control over what goes into the public domain then set up your own Git server and host the code there instead.
Once you have done that we can move on to Semaphore setup.
Semaphore Setup
For setting up CI/CD pipeline you can start by creating a new Git repository on GitHub. Next, log into your Semaphore account. If you are part of multiple organizations, select the one in which you plan to host the project on which you’re about to create.
- In the top navigation, click Create new.
- In the Start a real project section, click Choose repository. Follow on-screen instructions to authorize Semaphore to access a GitHub repository of your choice. In case you need help, consult the detailed guide to connecting your GitHub account with Semaphore.
- Please wait for Semaphore to initialize the project and install any OS-specific software required for building your project. The following screen lets you invite other people who have access to the GitHub repository to your Semaphore project. Click Continue to workflow setup to proceed.
- This will run your build in Semaphore’s system environment and, upon completion, will let you know if the built software is functional or not.
If you are planning to use features like Branch protection, this template is a good starting point for it as well. Use the following buttons on the right side of the screen to proceed: Create project Choose repository This will open a modal where you can authorize Semaphore to access your GitHub account.
Creating an Application in Semaphore
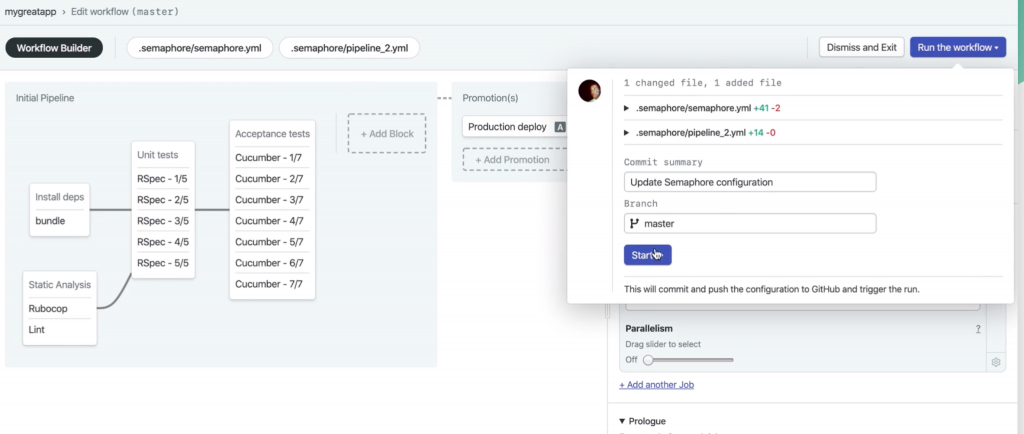
Semaphore provides a simple UI to configure your build environment. To create an application in Semaphore, follow the screenshot below:
- Click Builds.
- Click Add Builder.
- Enter a name for the application and select if you want it to be private or public.
- Then click Save.
Adding Dependencies
To add a dependency to your project:
- Click on + Add a new dependency.
- Enter the package name and the version of the library you want to use. For example, if your software requires jQuery, you can enter jquery.
- You will have to select the OS that is used for building with this template; since we are using Docker containers for running builds, the list of OS’s is limited.
If your software requires a version of Node.js, on Linux you can choose between v0.10 or v4; for Mac, you have to select between v4 and v6.
Plugins
- Git: allows us to pull down remote sources into a local repository
- Nodejs-based Java toolchain: enables us to use NPM to install our packages
Once you have installed these two plugins, restart Semaphore and then click on “New Item”. Give your project a name like dhtmlx-web-components-Semaphore. Select the freestyle project type.
Next, you need to add a build step that will pull down code from Github. Go into “Source Code Management” in the left side menu and click on Git under “Configure System”.
Then give it a name like dhtmlx-web-components-Semaphore using the pull model. If you are using a fork, specify it as well here.
Next click on “Build Triggers” in the left menu and under “Build periodically” select “Checkout Repository”. This way every time you push new changes to Github Semaphore will automatically pull them down into its local repository – no need for manual action!
Deployment via Script
Now that we have all this setup let’s take care of our first automated deployment. Click on “New Item” in the left side menu (of the main page). Choose “Shell Script” as the type and enter your name for it.
Now we need to add a command that will actually run our tests. We can do so by clicking on “Build When a change is pushed to GitHub”, which you can find under Build Triggers -> Deployment -> Github Webhooks, and then giving an URL with a format like this: https://github.com/dhtmlx/webcomponents-examples/pull/new?name=[UPSTREAM REPO NAME]&message=[COMMIT MESSAGE].

This way when somebody pushes code changes to the upstream repository all new branches or pull requests will cause Semaphore to run our tests and if all is well deploy it.
Next, we need to add the code that actually does the work: a Shell Script build step should do for this example. Make sure to set the working directory to the place where you want your site’s files located after deployment (e.g. my-new-website).
In order for Semaphore to execute this script as an actual shell command – which means it will have access to environment variables like PATH etc., we just add $Semaphore_HOME/bin at the beginning of our path because, yes, Semaphore is also a Linux machine.
Next, we can use any tool from npm and Yarn in particular here since they are both pre-installed on all modern Linux distros. Now we need to specify that actual command which will run our tests – otherwise if they fail Semaphore won’t know what to do next.
Now comes the part where we actually trigger deployment: Webhooks combined with jobs would be a bit overkill for something like this and GitHub Actions also don’t support deploying static sites, so let’s go with the second-best choice here – git push.
Under the “Build Triggers” menu select “Post-build actions” and then add a git command that executes some code after each successful build.
Lastly, let’s add some fancy configuration to this project so that Semaphore knows what to do. Under the “Source Code Management” menu click on your GitHub project in order to set up properties for it and then give a new name for the repository.
Now you should see all of this up and running inside of Semaphore: You can try pushing changes into Github and then head over to your website address (http://localhost/dhtmlx-web-components) which will show your newly deployed site.
Click on Semaphore Jobs and then click the button that says View build. This will open up a details screen for your job and you’ll be able to see all of its configurations.
Now let’s make sure that independent deployments also work by committing some changes into another branch ( git checkout -b deploy-two ) or creating a new pull request – this is basically what we would do in case somebody else pushed code changes into our GitHub repository while we were working on our feature.
Wrapping up
To conclude, setting up a CI/CD pipeline for your application is a great way of setting up automated testing before you deploy an application to production. On top of that, it can be used for the easy deployment and updating of your applications through the rest of its iterations. It also gives extra assurance that what goes out to production will work properly as well as providing a backup in case anything does go wrong.